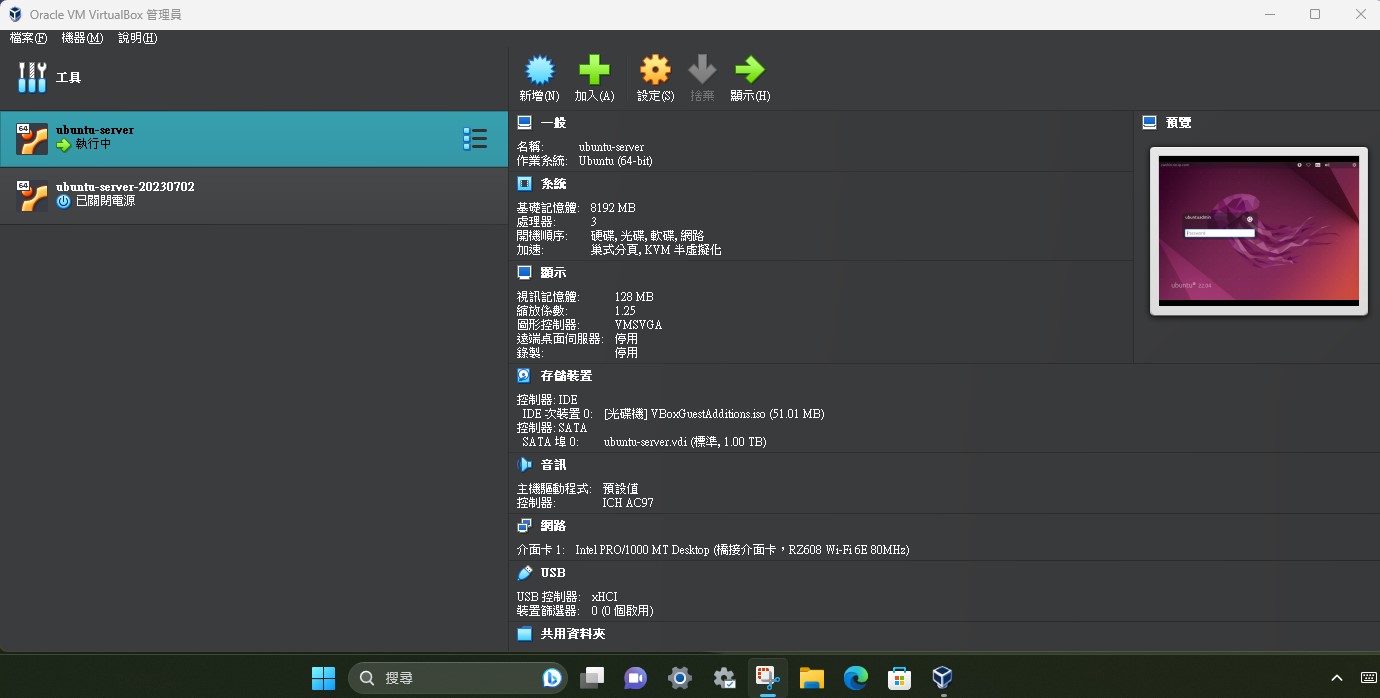
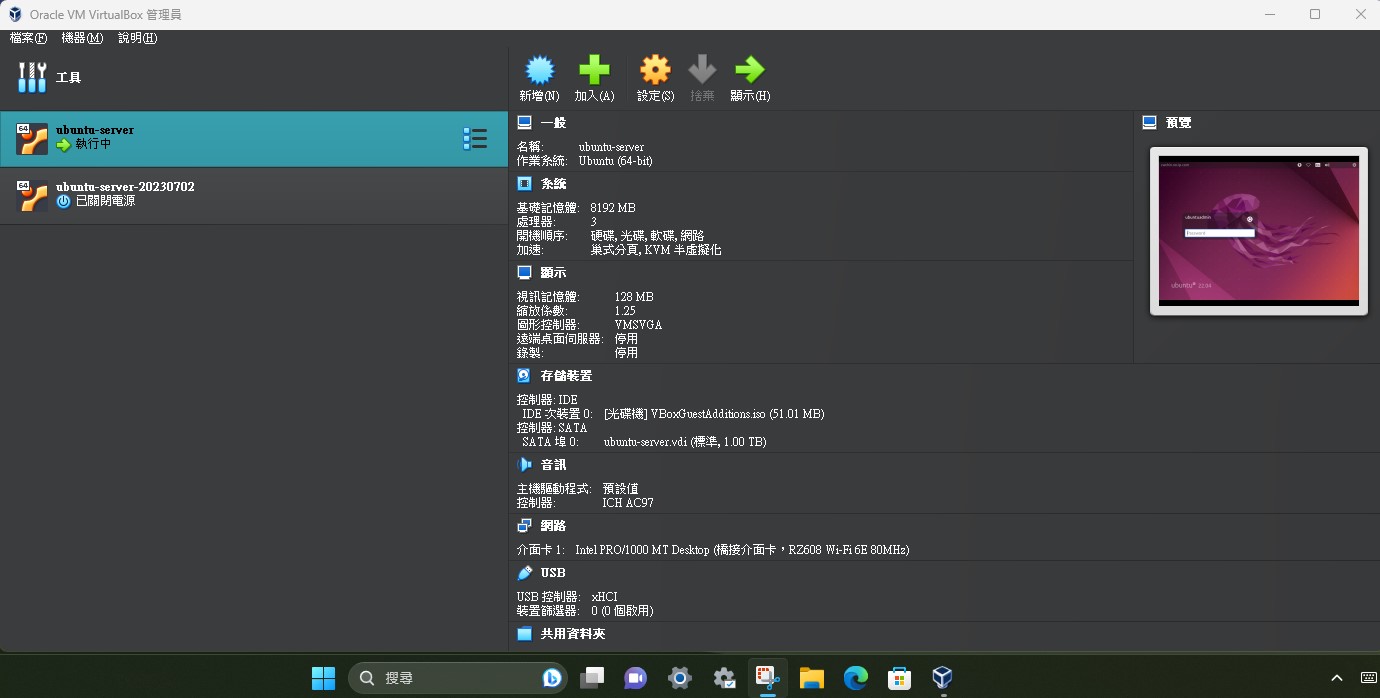
VirtualBox , Ubuntu server + Ubuntu desktop 安裝紀錄
1) VirtualBox (我的主機是Win11)
VirtualBox 7.0.8 Windows hosts ISO: https://www.virtualbox.org/wiki/Downloads
1.1) install VirtualBox 7.0.8 Oracle VM VirtualBox Extension Pack
https://askubuntu.com/questions/282018/wifi-card-on-ubuntu-in-virtualbox-no-wireless-extensions
Win11 用 ipconfig check wifi IP – 192.168.x.xxx (e.g. change to 192.168.x.x as static IP), set up wifi as bridge adapter (網路設定成橋接介面卡)
2) VirtualBox 建立新的 Ubuntu Server 教學:
https://ubuntu.com/download/server (now is 22.04.2 LTS)
https://footmark.com.tw/news/linux/ubuntu/ubuntu-server-install/
手動設定固定 IP:
sudo netplan generate
sudo pico /etc/netplan/00-installer-config.yaml (更改成 fix ip)
Windows 11 固定IP設定方式
https://chenmama.neocities.org/IP/11
家中Router 設定 DDNS (我由約 2000年已使用 noip.com …)
https://www.tp-link.com/tw/support/faq/297/
2.1) after ubuntu server setup:
sudo apt update && sudo apt upgrade -y
timedatectl set-timezone Asia/Taipei
hostnamectl set-hostname xxx.no-ip.com
sudo apt install cockpit
sudo systemctl enable –now cockpit.socket
sudo systemctl status cockpit.socket
Access cockpit thru:
https://192.168.x.x:9090/
ping -c 5 www.google.com
ifconfig
ip a
sudo service ssh status
2.2) 安裝LAMP Server and phpmyadmin
https://www.chirue.com/ubuntu-wordpress-web/
sudo apt purge phpmyadmin
sudo apt install phpmyadmin
sudo service apache2 restart
2.3) install ubuntu desktop on ubuntu server
sudo apt install ubuntu-desktop
sudo apt install lightdm
Install google browser
sudo dpkg -i google-chrome-stable_current_amd64.deb
3)建立wordpress
https://www.chirue.com/ubuntu-wordpress-web/
wp-config.php 設置 : https://developer.wordpress.org/apis/wp-config-php/
Google Blogger部落格文章搬家到WordPress:
https://rogerli.xyz/2018/09/%E7%B5%82%E6%96%BC%E6%B1%BA%E5%BF%83%E5%BE%9Eblogger%E8%BD%89%E7%A7%BB%E5%88%B0wordpress-%E6%89%80%E6%9C%89%E6%96%87%E7%AB%A0%E5%92%8C%E5%9C%96%E7%89%87%E9%83%BD%E4%BF%9D%E5%AD%98%E5%88%B0%E6%96%B0.html
Manual upgrade for WordPress:
wget https://tw.wordpress.org/wordpress-6.2.2-zh_TW.tar.gz
tar -zxvf wordpress-6.2.2-zh_TW.tar.gz
rm -r wp-content (delete this folder) in the .gz file
sudo cp -r wordpress /var/www/
3.1) 部落格搬家麻煩的事, 搬 blog 總有大大小小怪問題,例如不是全部相片下載到 server,那麼如果用作備份還可,相片的連結仍是 blogger 可見。
登入: mysql -u root -p
mysql>use wordpress;
mysql>select * from wp_options limit 2;
option_name option_value
siteurl http://192.168.x.x
home http://xxx.no-ip.com
mysql>exit
修改配置文件 replace local url by 域名 url :
mysql>UPDATE wp_options SET option_value = replace(option_value, ‘http://192.168.x.x’, ‘http://xxx.no-ip.com’) WHERE option_name = ‘home’;
WordPress內外網同時訪問問題解決方法:
amend /var/www/wordpress/wp-includes/option.php:
https://www.shuibuxing.fun/solution-of-simultaneous-access-to-wordpress-intranet-and-intranet/.html
家中 Router 需要 port forward 80/443至 ubuntu server ip.
3.2)
4) enable SSL (http to https)
e.g. self-signed certificate
openssl req -x509 -newkey rsa:4096 -sha256 -days 3650 -nodes \
-keyout example.key -out example.crt
sudo openssl req -x509 -nodes -days 3650 -newkey rsa:2048 -keyout /etc/ssl/private/xxx.no-ip.com.key -out /etc/ssl/certs/xxx.no-ip.com.crt
https://blog.csdn.net/wu10188/article/details/124970453
https://www.rosehosting.com/blog/how-to-enable-https-protocol-with-apache-2-on-ubuntu-20-04/
create 000-default.conf for and xxx.no-ip.com-ssl.conf for (refer step 6):
cat /etc/apache2/sites-available/xxx.no-ip.com-ssl.conf
sudo a2enmod ssl
sudo a2ensite xxx.no-ip.com-ssl.conf
Enable/Disable your site config using sudo a2ensite {name} or sudo a2dissite {name}.
sudo systemctl restart apache2
sudo apache2ctl -S to check if :80 :443 is enabled
OR (Let’s Encrypt, this is work in browser)
Install SNAP and Let’s Encrypt using CERTBOT
https://certbot.eff.org/instructions?ws=apache&os=ubuntufocal
5) share folder in VirtualBox
mkdir temp
/home//temp
https://linuxconfig.org/webdav-server-setup-on-ubuntu-linux
https://sites.google.com/site/waue0920/wei-yu-chen-s-note/linux-%E7%AD%86%E8%A8%98/virtualbox-client-%E7%AB%AF%E8%8B%A5%E6%98%AFlinux%E7%94%A8%E5%85%B1%E7%94%A8%E8%B3%87%E6%96%99%E5%A4%BE%E7%9A%84%E8%A8%AD%E5%AE%9A%E6%96%B9%E6%B3%95
sudo mount -t vboxsf 分享資料夾名稱 掛載路徑
sudo mount -t vboxsf [sourcedir] /home/[admin]/[destdir]
6) share folder using webdav ; setup davfs to allow webDAV, and WebDAV with user authentication
https://linuxconfig.org/webdav-server-setup-on-ubuntu-linux
https://www.jianshu.com/p/17da6608dc74
https://blog.lincloud.pro/archives/36.html
https://www.digitalocean.com/community/tutorials/how-to-configure-webdav-access-with-apache-on-ubuntu-18-04
matthew is the user id to login webdav:
sudo htpasswd -c /etc/apache2/webdav.passwords matthew
sudo pico /etc/apache2/sites-available/xxx-no-ip.com-ssl.conf:
sudo pico /etc/apache2/sites-available/000-default.conf
7)在 ubuntu server 設定 防火牆 ufw firewall
https://www.digitalocean.com/community/tutorials/how-to-set-up-a-firewall-with-ufw-on-ubuntu-20-04
sudo apt install ufw
sudo ufw default deny incoming
sudo ufw default allow outgoing
根據自己需要,例如: Web server可開啓 port 80 等。
sudo ufw allow 80
設定好可以指令令其生效。
sudo ufw enable
檢視現有設定可用這:
sudo ufw status numbered
sudo ufw status verbose
sudo ufw reset (if need delete)
8) NextCloud install
http://www.mailserverguru.com/install-nextcloud-on-ubuntu-22-04-lts/
mysql -u root -p
CREATE USER ‘nextcloud’@’localhost’ IDENTIFIED BY ‘passw@rd’;
CREATE DATABASE IF NOT EXISTS nextcloud CHARACTER SET utf8mb4 COLLATE utf8mb4_general_ci;
GRANT ALL PRIVILEGES ON nextcloud.* TO ‘nextcloud’@’localhost’;
FLUSH PRIVILEGES;
quit;
cd /var/www/
sudo wget https://download.nextcloud.com/server/releases/latest.zip
sudo unzip latest.zip
sudo rm -rf latest.zip
sudo chown -R www-data:www-data /var/www/nextcloud/
sudo -u www-data php occ maintenance:install –database \
“mysql” –database-name “nextcloud” –database-user “nextcloud” –database-pass \
“passw@rd” –admin-user “admin” –admin-pass “admin123”
wait and after completed, Nextcloud was successfully installed
add domain and set pretty and shorter URLs remove the “index.php” part in all Nextcloud URLs.
sudo pico /var/www/nextcloud/config/config.php
‘trusted_domains’ =>
array (
0 => ‘localhost’,
1 => ‘yyy.no-ip.com’,
),
‘htaccess.RewriteBase’ => ‘/’,
config ssl like step 4 and 6:
sudo pico /etc/apache2/sites-available/yyy.no-ip.com-ssl.conf
HTTP Strict Transport Security, which instructs browsers not allow any connection to the Nextcloud instance using HTTP, it prevents man-in-the-middle attack.
10) 遙遠登入 virtualbox client
用另一台電腦登入 我的Win11 主機(192.168.x.x),利用微軟的 (remote desktop, port default 3389) 便可。
而在 Virtualbox client display 頁設定 3390-4000 任何一個port(例:我用 3390),剔選enable server。
Ref: https://www.mybijourney.com/how-to-connect-to-virtual-box-vm-using-microsoft-remote-desktop/
在Win11 主機的 firewall 新增此 port 的 inbound traffic。
Ref: https://learn.microsoft.com/en-us/windows/security/operating-system-security/network-security/windows-firewall/create-an-inbound-port-rule
那麼, 用另一台電腦 RDP
192.168.x.x:3390
便見到我 Ubuntu client 的登入画面了。
另外,網上見到香港朋友 Toby Chiu 的大作AroZos, 只需用 URL 便可控制聽歌看片分享檔案,功能強大,稍後作另文介紹安裝方法。
https://cwchin.no-ip.com/?p=928
——-END——-


